


Up to 5-Year Part Warranty
Need Replacement Parts?
Download Guides
Title
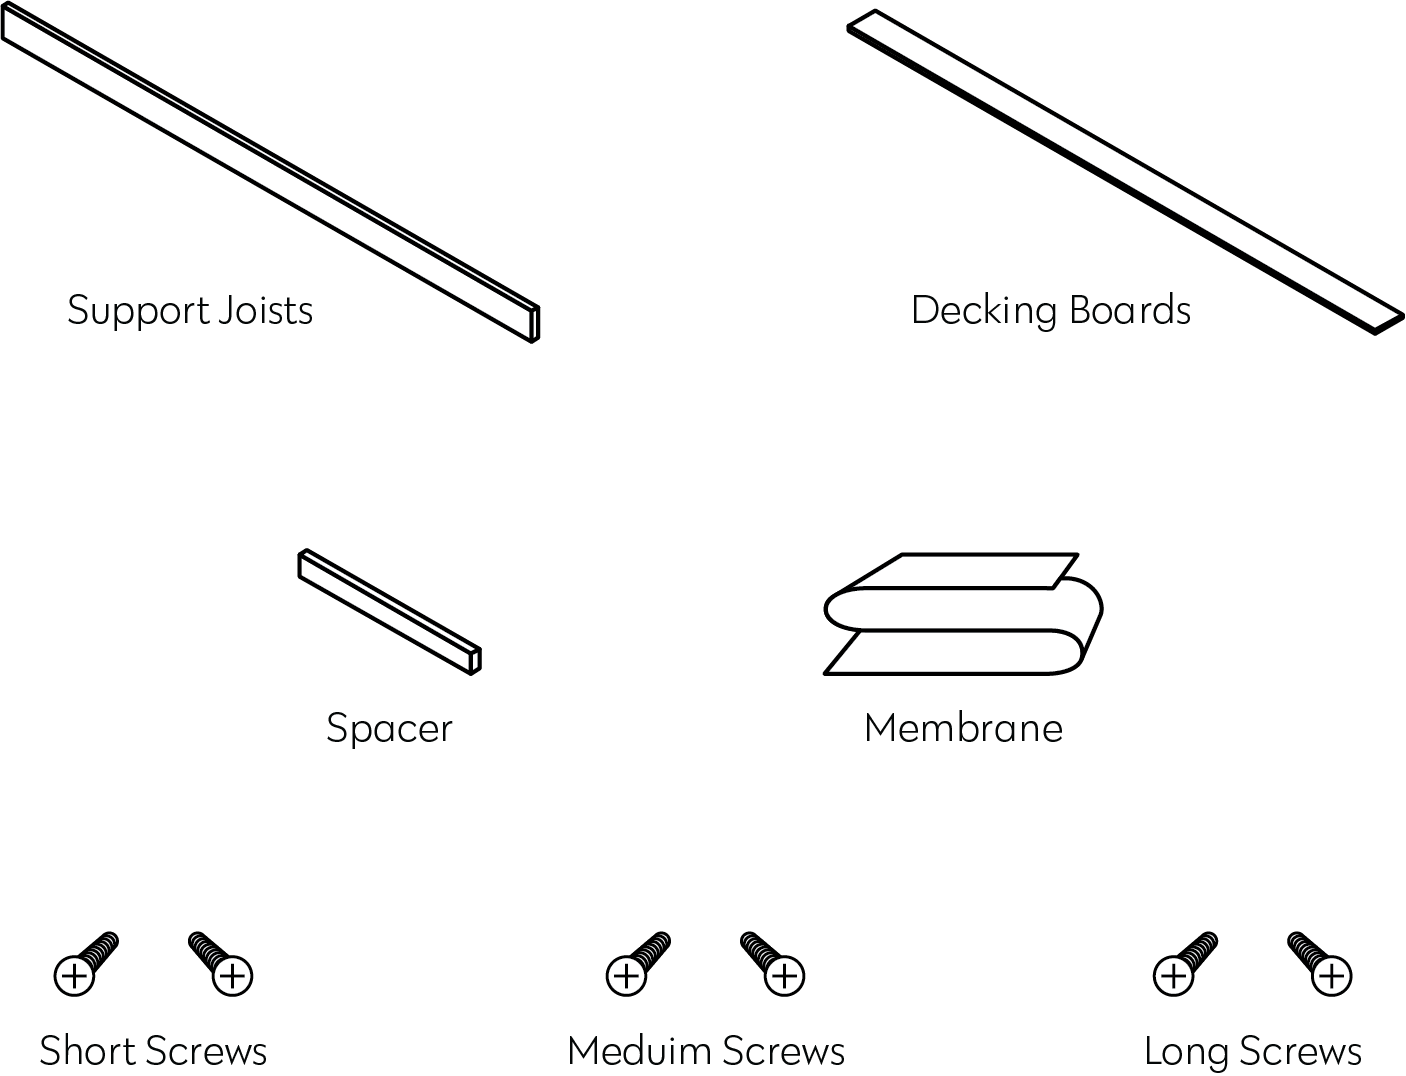
Unboxing
What's inside your delivery.
Tools you will need

Tape Measure

Spirit Level

Drill/Electric Screwdriver
Title
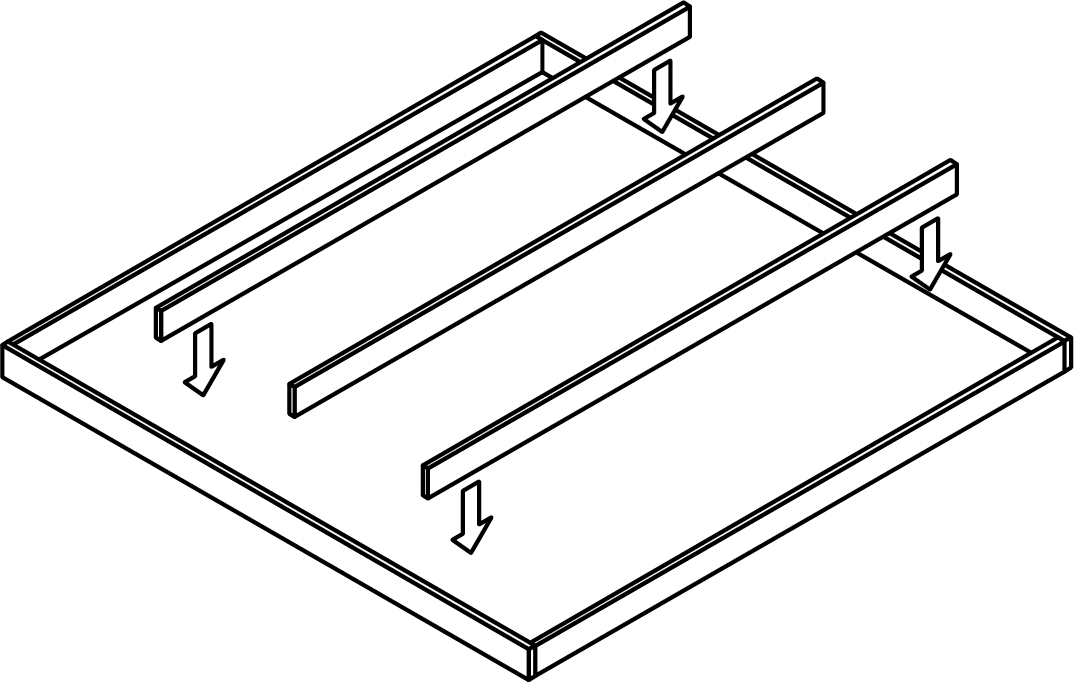
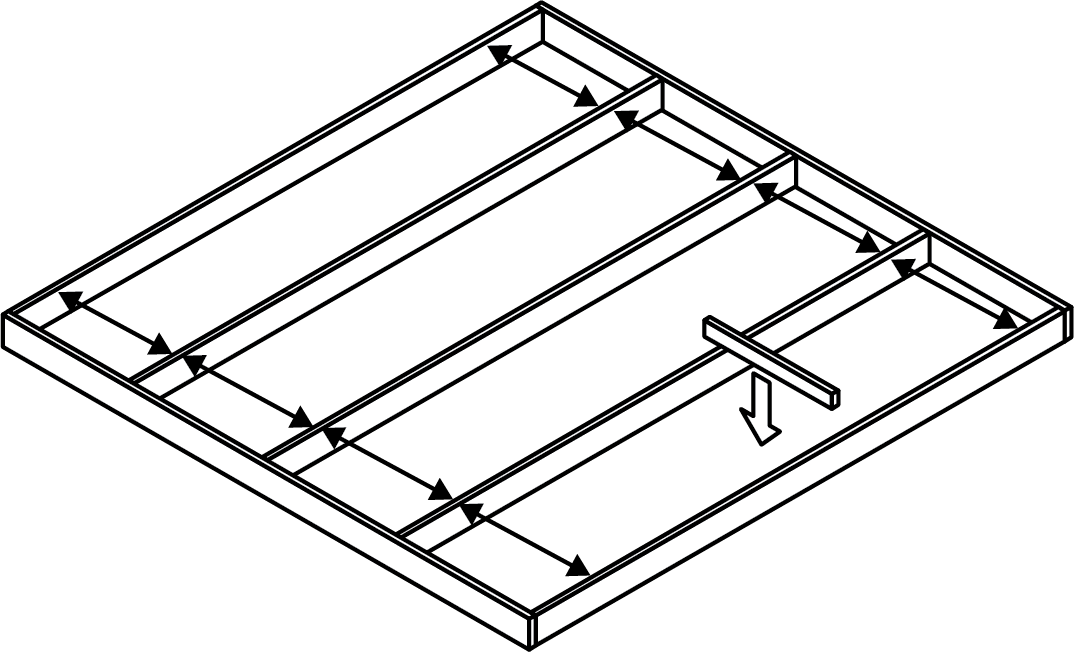
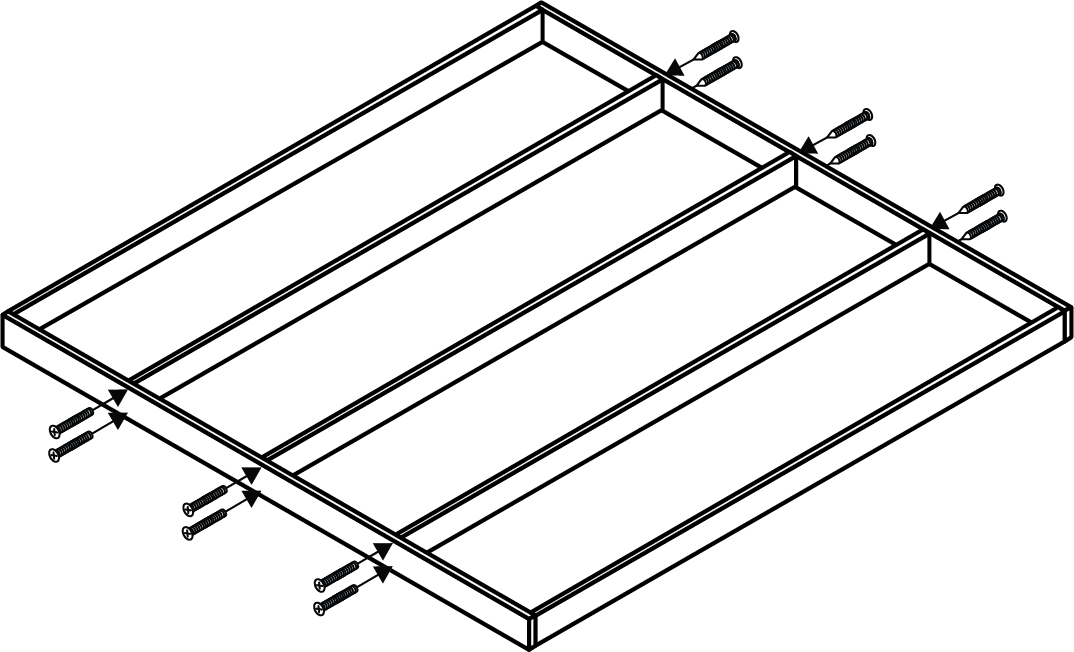
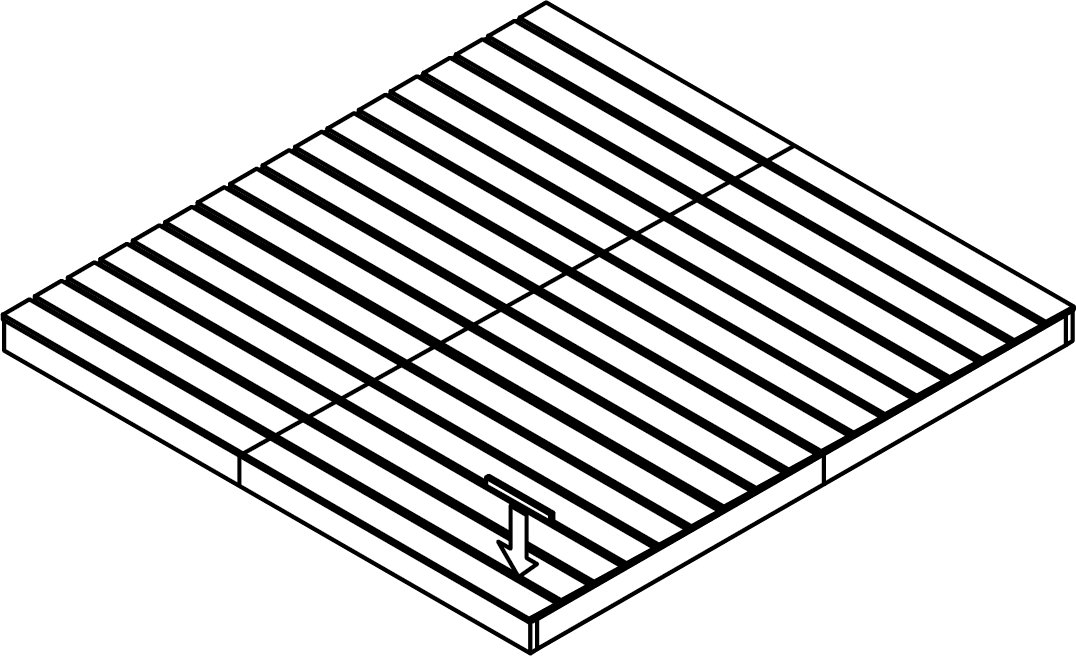
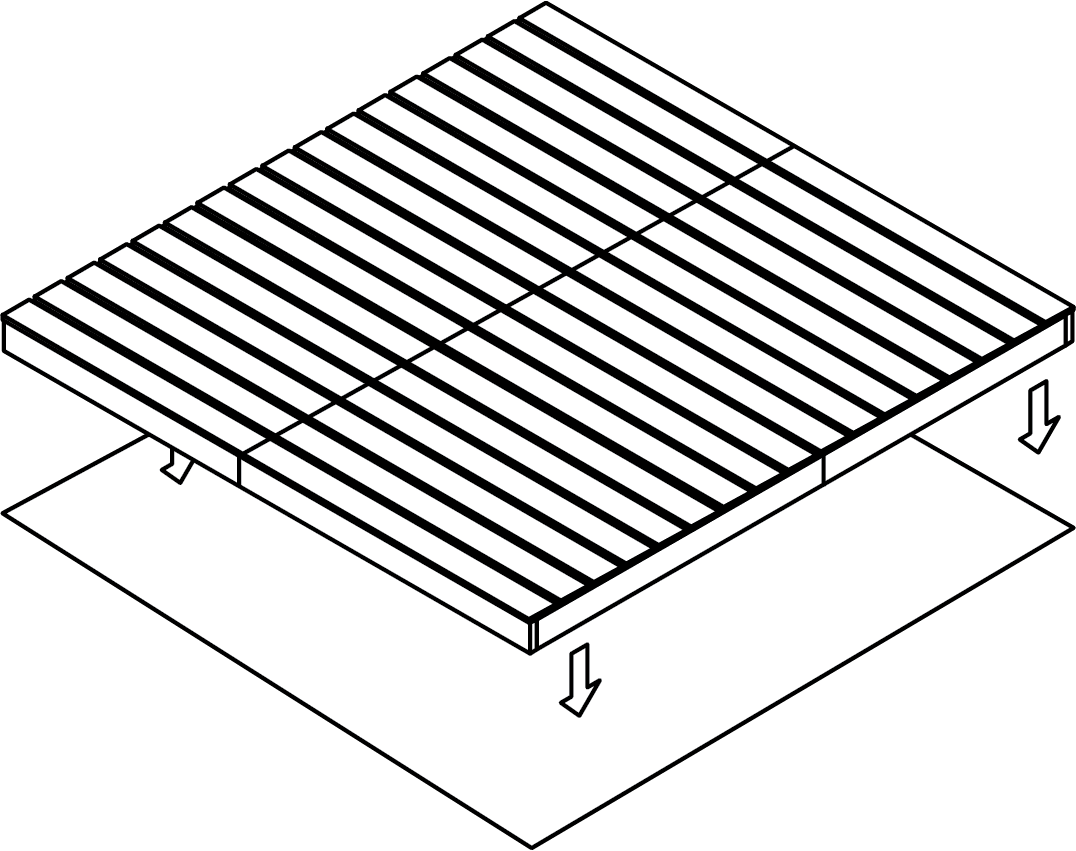
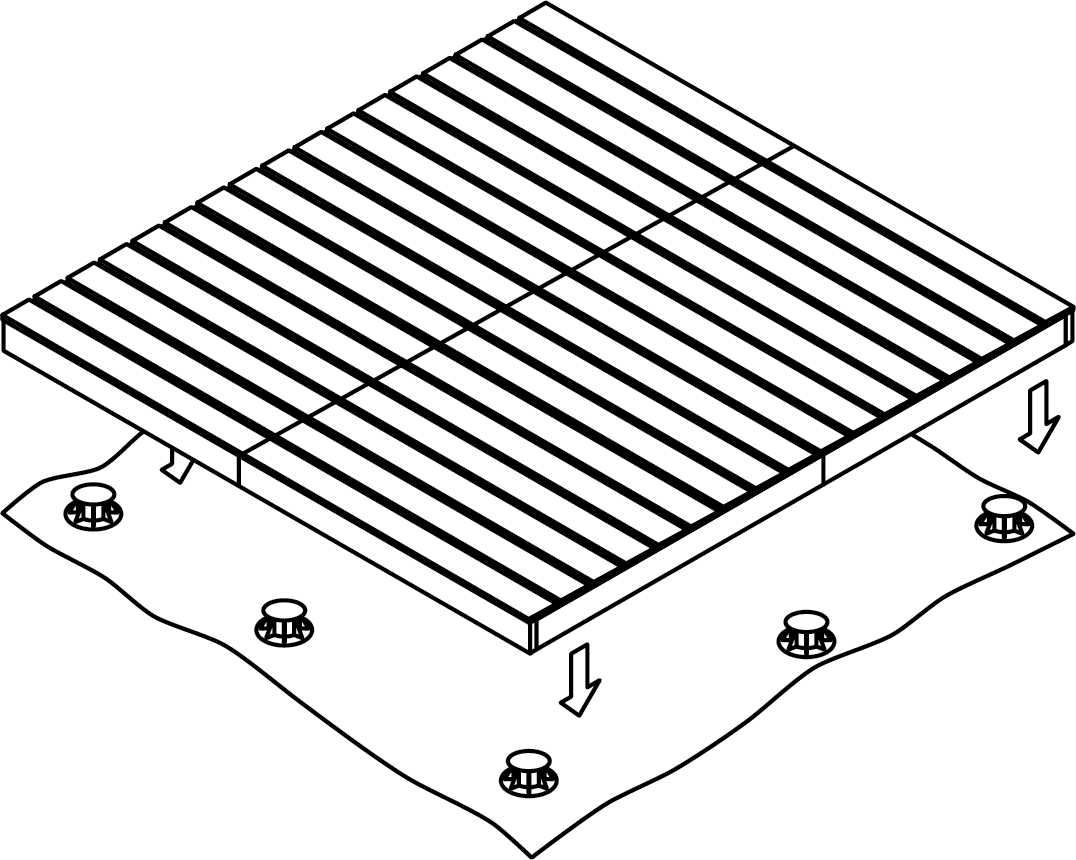
Assembly
How to build your base.
Step by step guidance


Title
Aftercare
How to look after your base.
Cleaning
Protection
Customisation
Storing or relocating
Damaged boards
Title